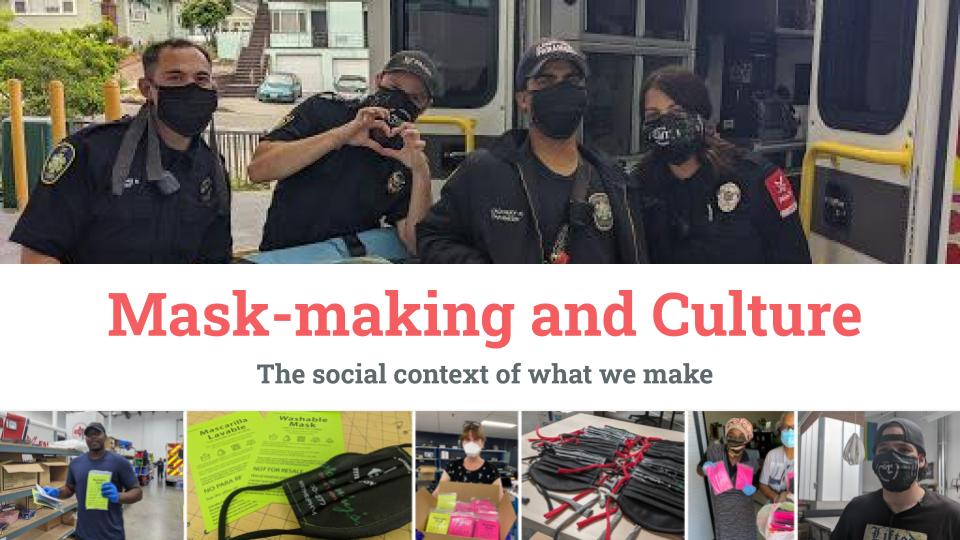
I recently spoke at the Homemade Mask Summit hosted by Just Wanna Quilt, the Newcomb Institute, Tulane University, along with the Phyllis M. Taylor Center for Social Innovation and Design Thinking, and the Albert Lepage Center for Entrepreneurship and Innovation at the Freeman School of Business.
Here is the presentation deck from that talk along with Q&A from the Summit.
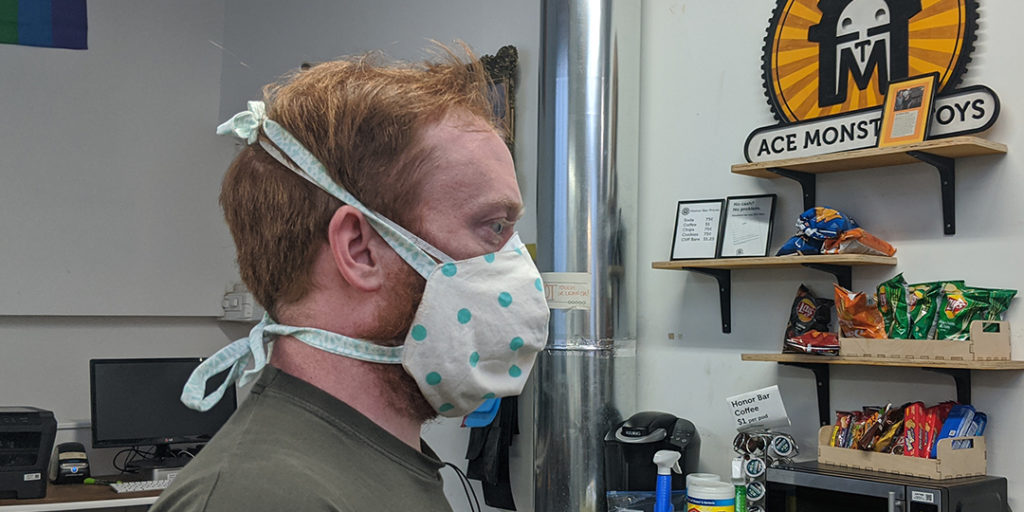
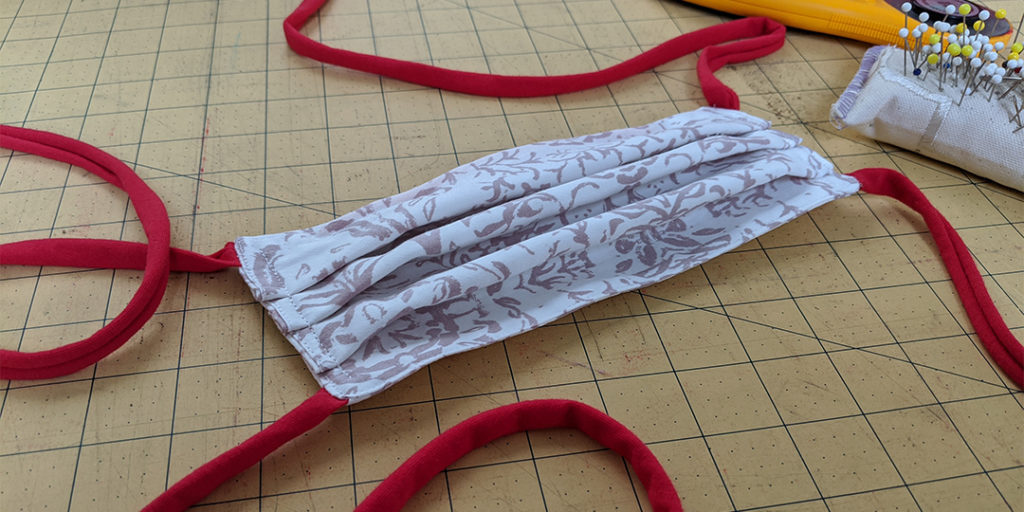
This post specifically addresses the Fray Issue that has come up when sewing the MasksNow Pleated Pocket Mask. Troubleshooting for this issue is going to vary based on fabric thickness.
The issues
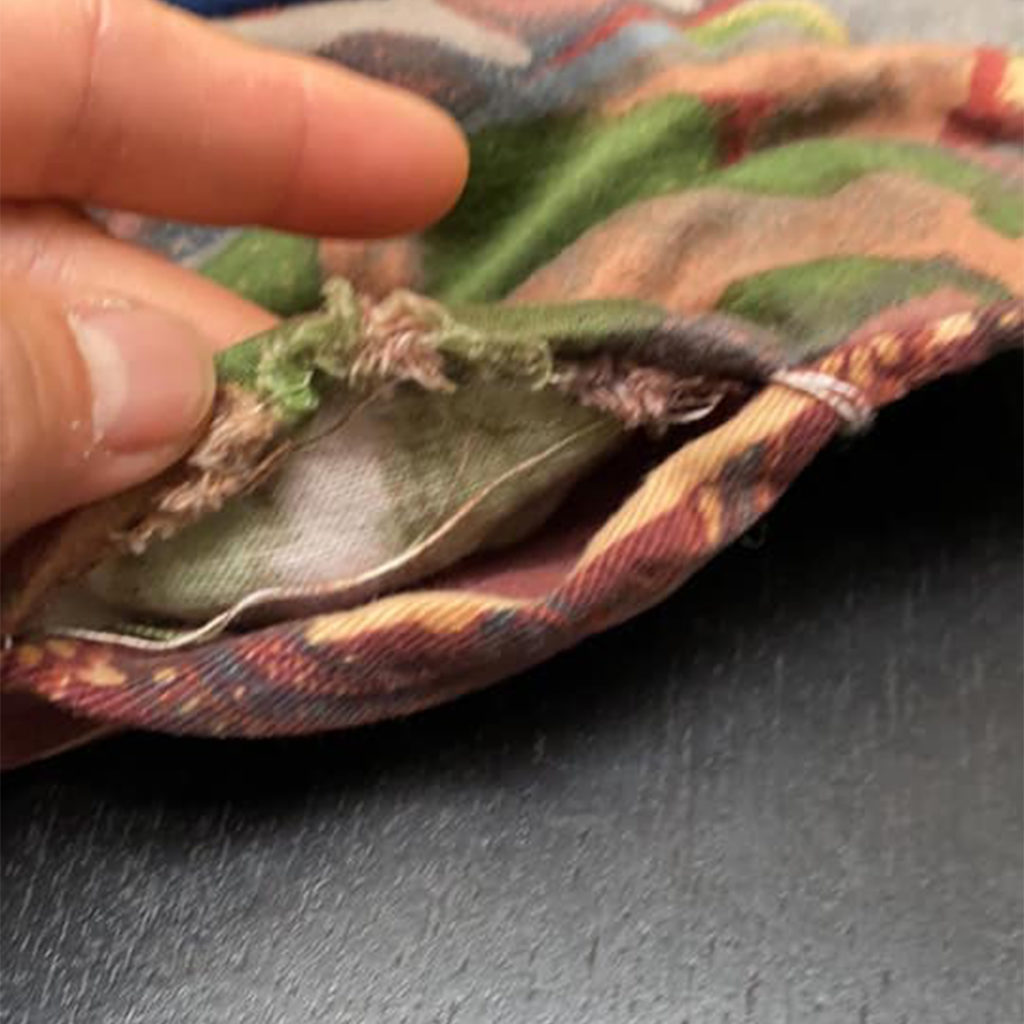
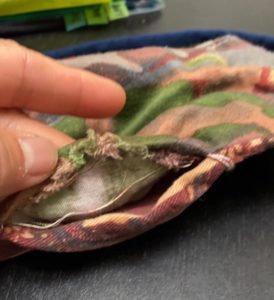
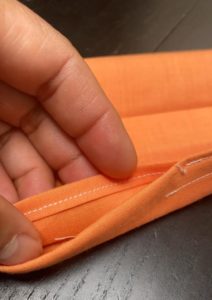
The leading edge of the pocket in the original instructions is not hemmed at the pocket opening and this can cause issues of fray especially in washing thick fabrics.
Mask pocket, with light frayingMask pocket with heavy fraying post washing
Options
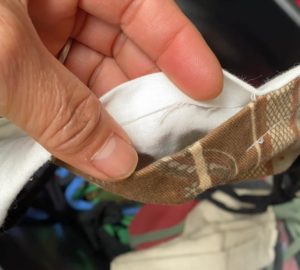
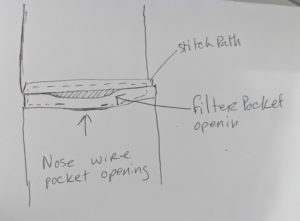
Hem the double-folded edge at the beginning of the assembly between Step 1 and Step 2. This is what it would look like:
hemmed filter pocket edge
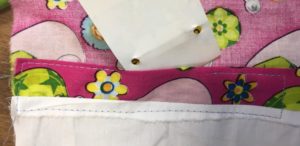
Hem the single-folded edge and nose wire pocket in one go at the beginning of the assembly between during Step 2. This is what it would look like:
example of sewing down both pockets at onceSewing down both pockets with one line if stitches in the shape of a “C”
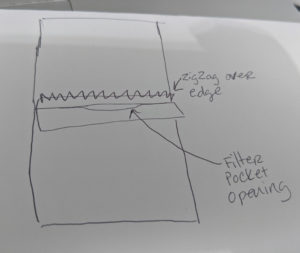
Hem the single-folded edge with a zigzag stitch at the end of Step 1. This is a good solution for thick fabric.
ZigZag over thick fabric edge.
Whipstitch the frayed edge. This is a good solution for masks that are already complete and that frayed in the wash. There are tons of hand sewing whipstitch edges tutorials on google. They will all work.
Glue… fabric. Depending on how bad the fraying is products like Fray-Check and other washable fabric glues can also be used. But I recommend this solution for the end-user only as you never know what folks are allergic to.
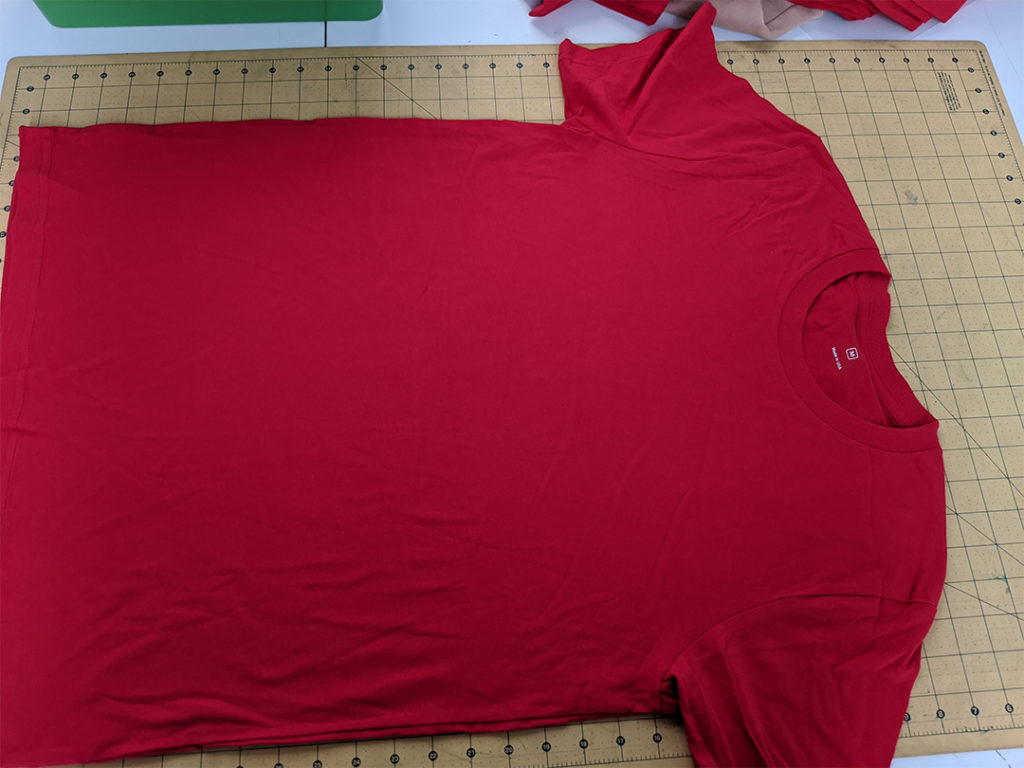
There are two ways to breakdown a t-shirt for mask ties, ties only or edge binding. This how-to post describes both.
For ties only
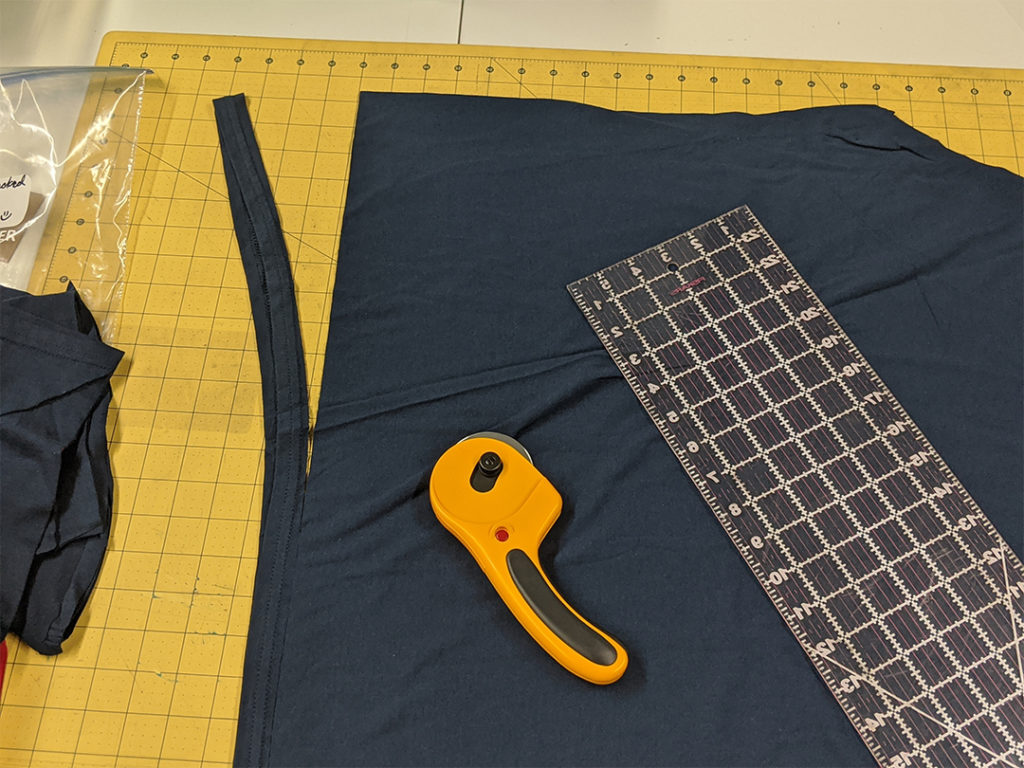
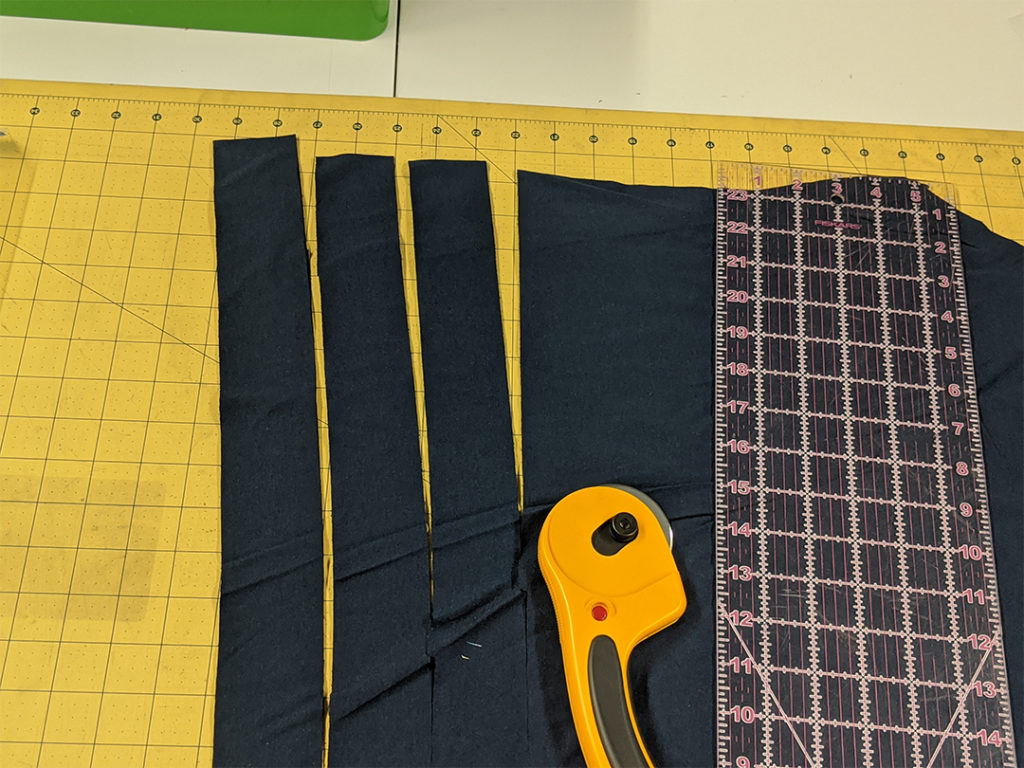
This method maximizes the shirt for strong ties that are 18 to 20 inches long when moderately stretched. This makes for a strong comfortable tie and a good mask fit.
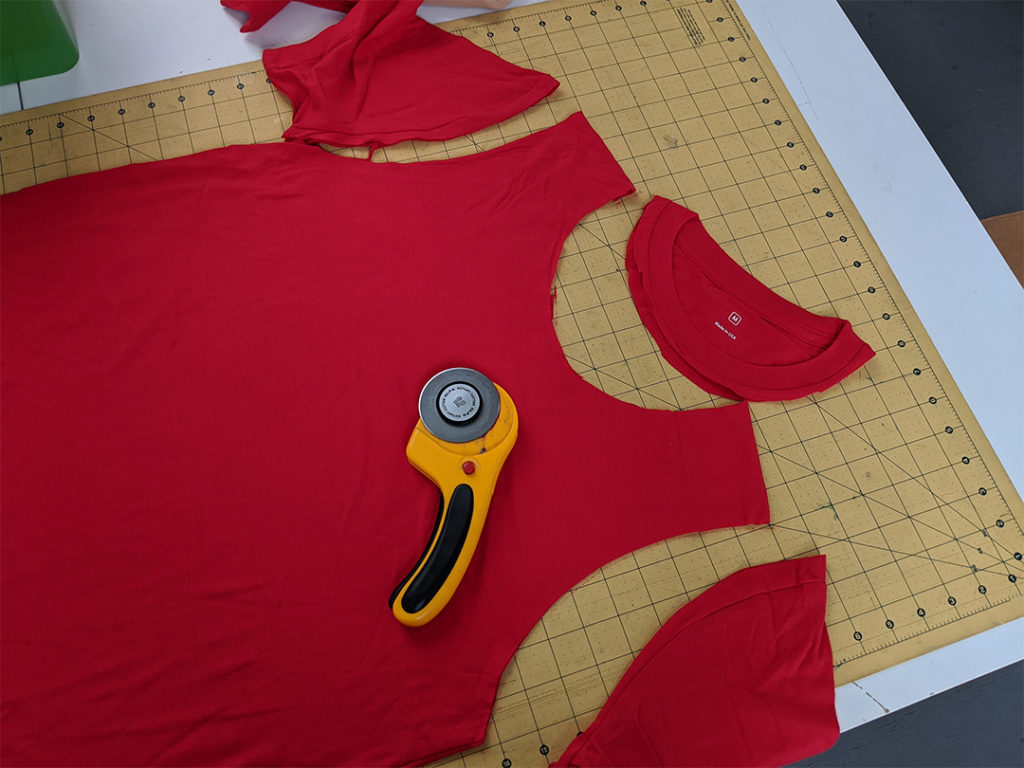
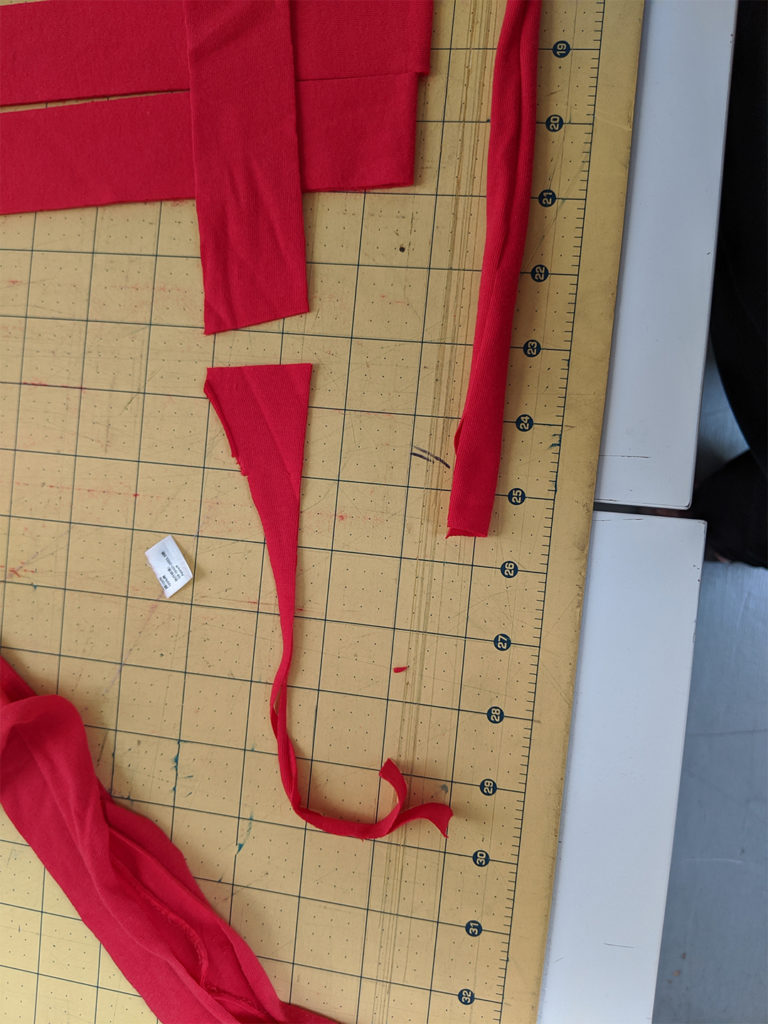
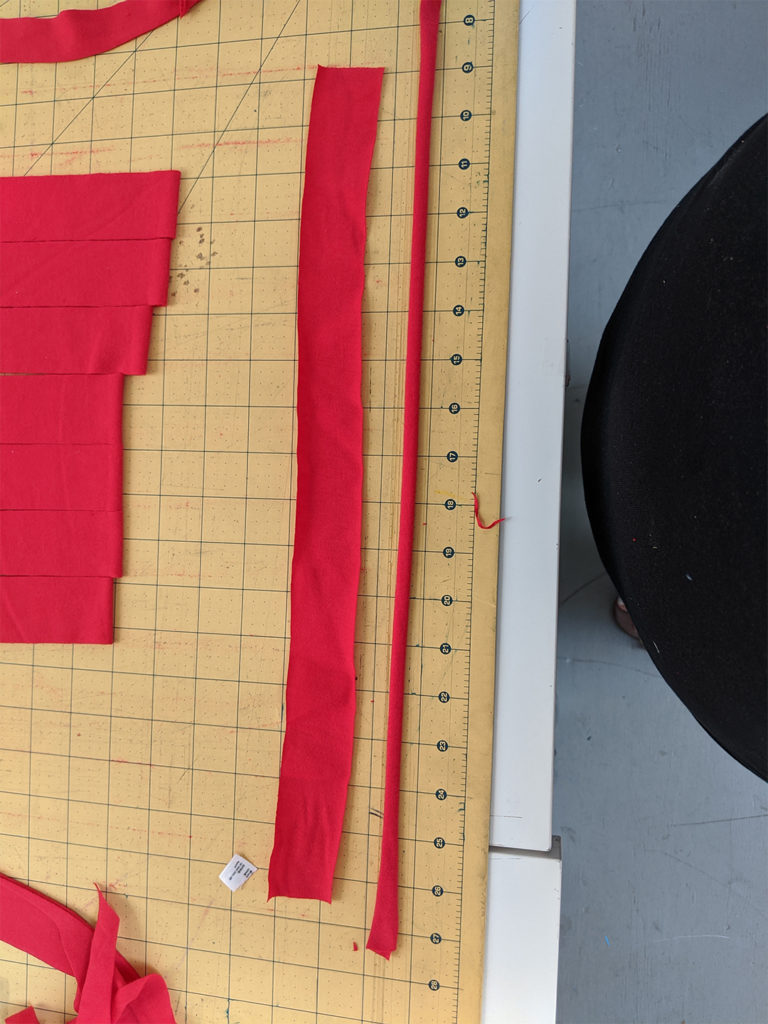
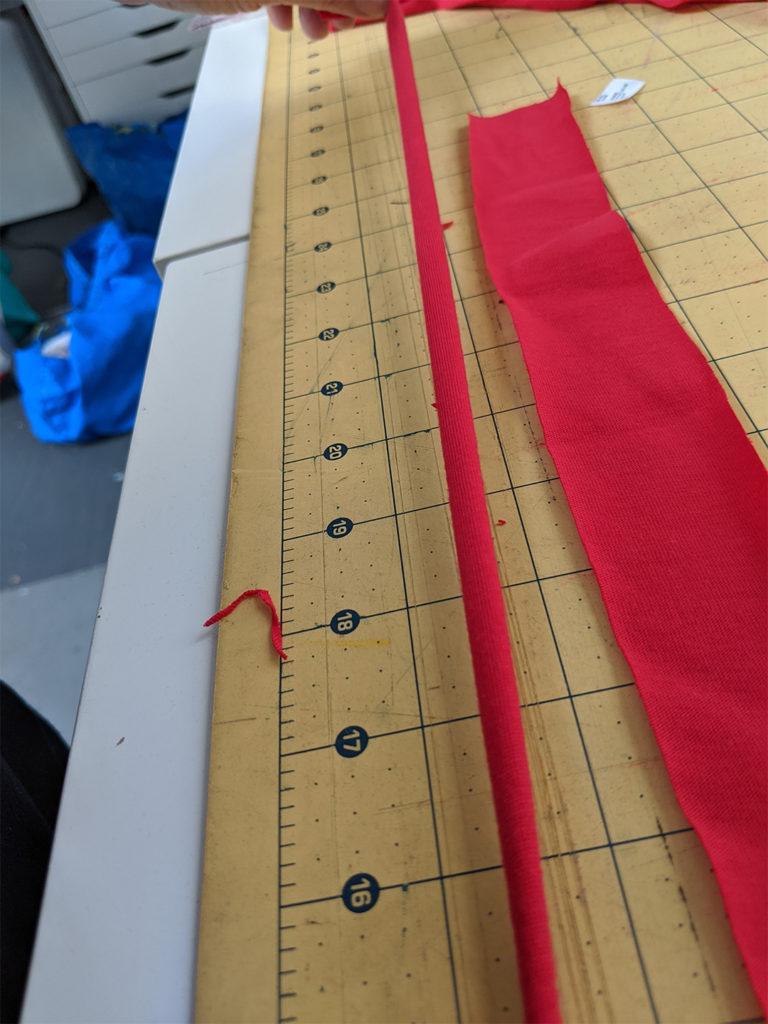
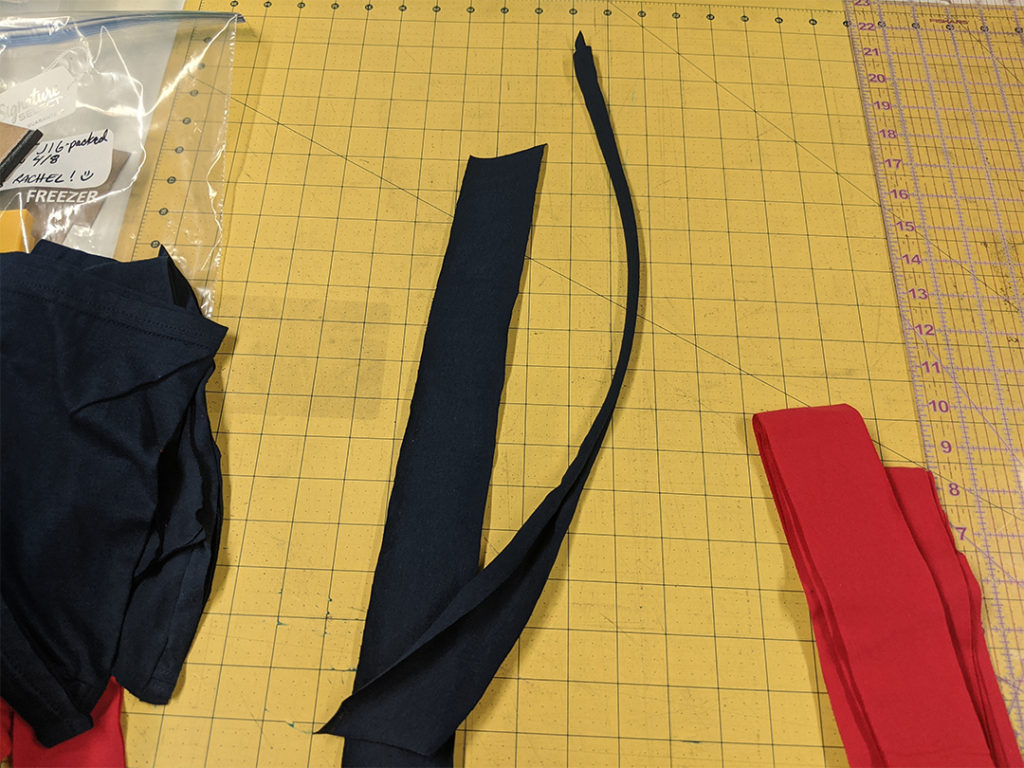
Lay the t-shirt out flatRemove the sleeves and neck banding.Remove the hemRemove the shoulder seamsRemove side seams if sewnFold in half and use a rotary cutter and quilters ruler to being cutting your stipes length-wise from shoulder to hem. DO NOT cut acrossthe knit. Cut strips 1.5 inches wide.Cut strips 1.5 inches wide.Discard any odd or non-continuous bits.Stretch out to make soft round ties. Sew together if you needed. And cut to length for your mask.Keep in mind that the flat length and the stretched length will vary. Keep that in mind when cutting for ties. Ties for an adult head from the corner of the mask to the end of 1 tie is approximately 18 to 20 inches usually.
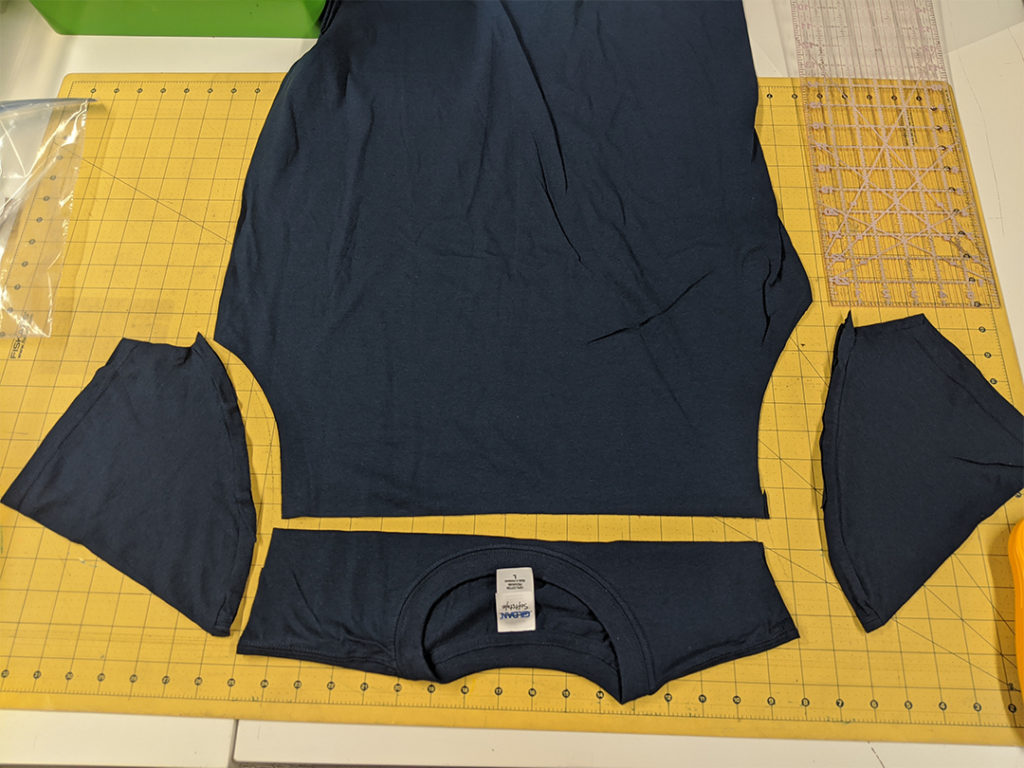
For edge binding
This method results in ties that can be easily double folded to make edge binding and ties. For this method, you need to cut the strips wider so they are strong when stretched. If cut to thin with this method the ties will not hold the mask in a secure fit for long wear.
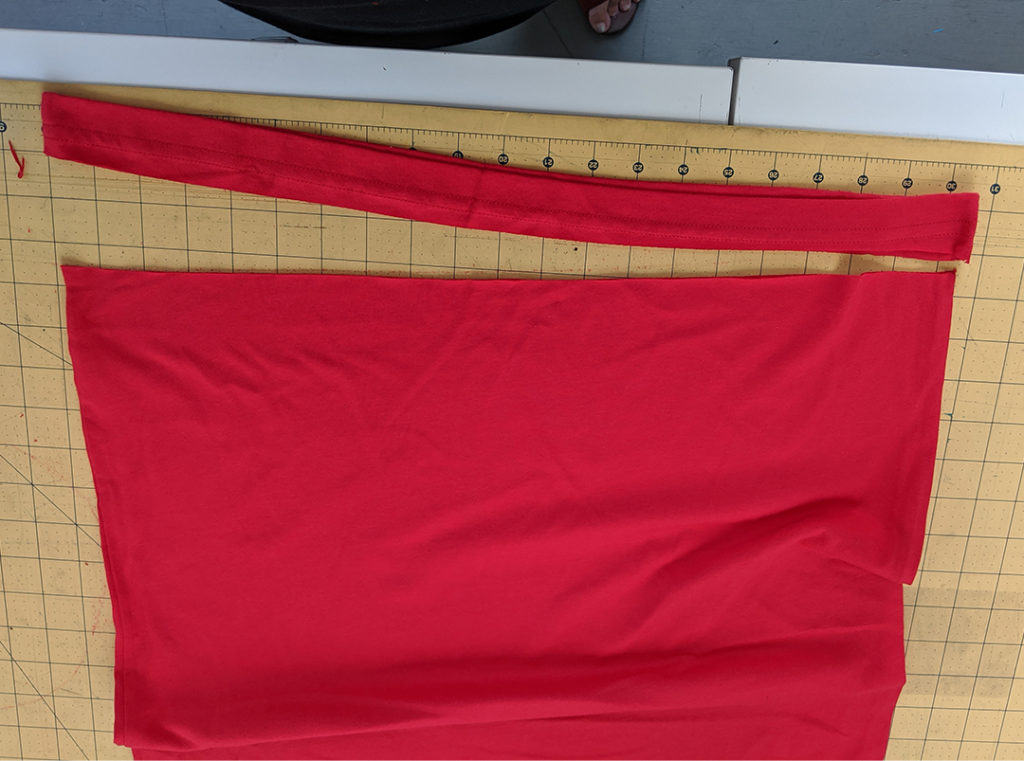
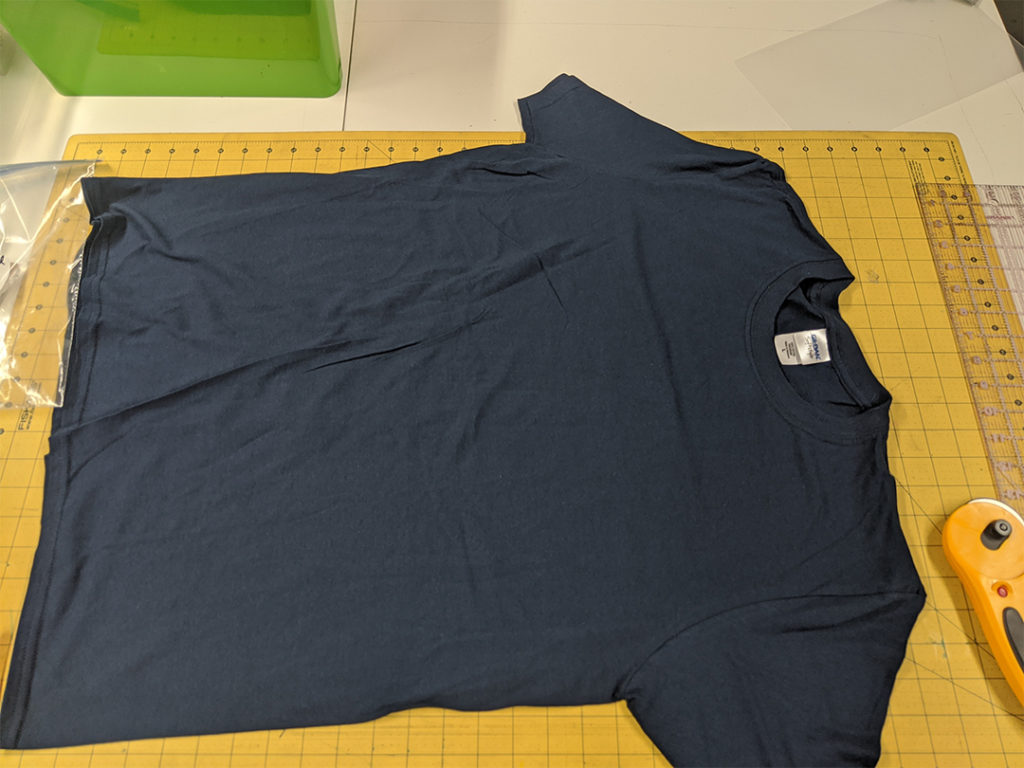
Lay the t-shirt out as flat as possible
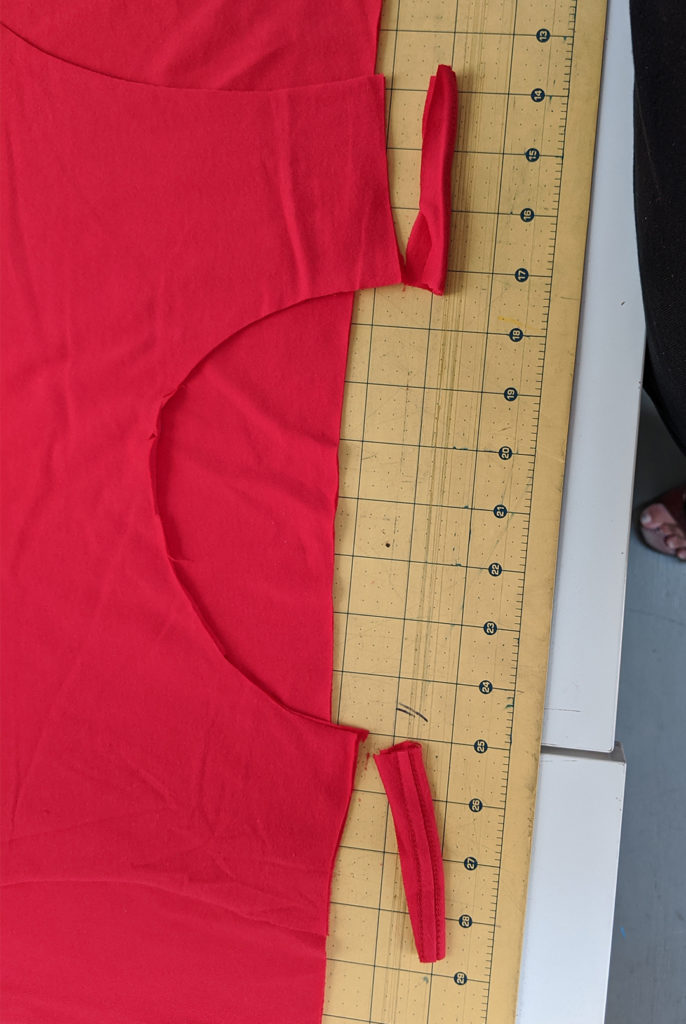
Using a rotary cutter or very sharp scissors remove the sleeves and collar area from the body of the shirt.
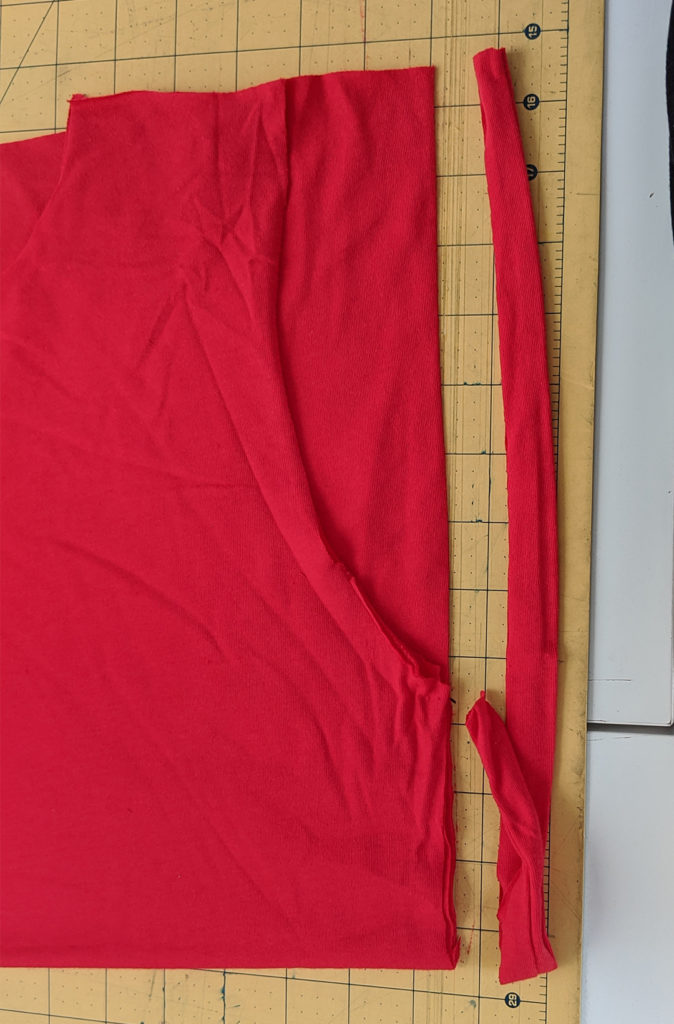
Remove the hem of the shirt
Discard any narrow bits left over.
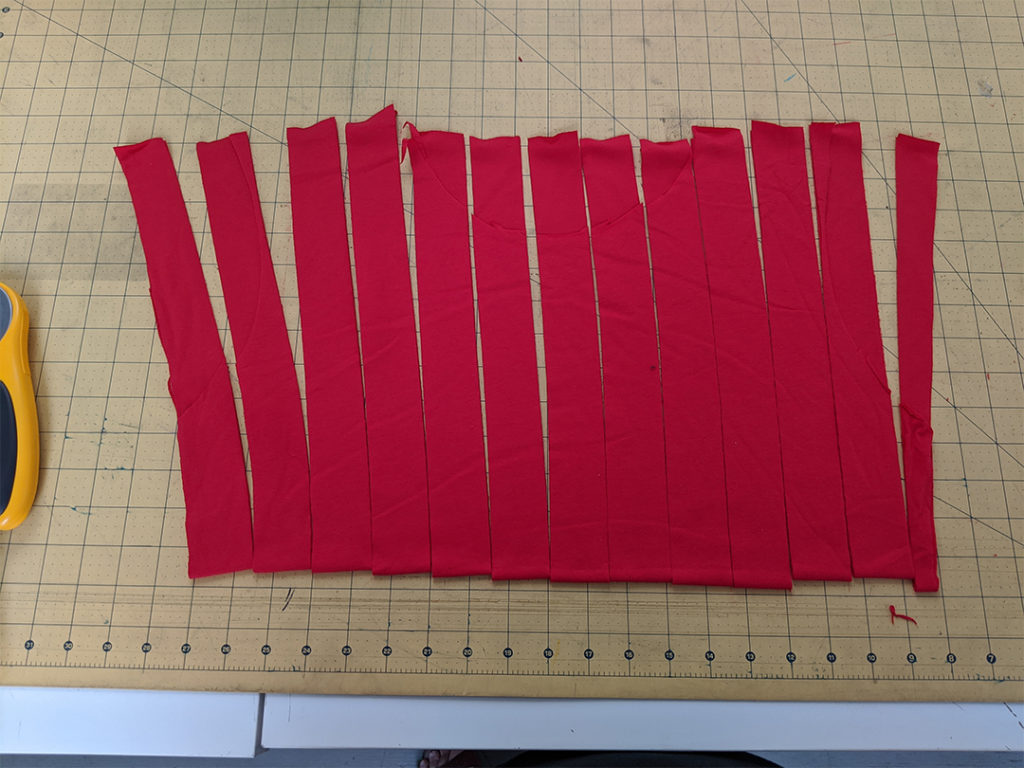
Cut horizontally across the body of the shirt at 1.75″ to 2″ lengths. This is easiest with a rotary cutter and a quilters ruler.
Discard any narrow bits left over.
Double fold and use as edge-binding. Stretch the strips to create round soft ties after sewing as binding. If you have odd short bits you need to combine to create strips be sure to sew them with a half-inch seam allowance and a zigzag stitch securely.
Step 1: Lay the t-shirt out as flat as possibleStep 2: Using a rotary cutter or very sharp scissors remove the sleeves and collar area from the body of the shirt.Step 3: Remove the hem of the shirtStep 4: Cut horizontally across the body of the shirt at 1.75″ to 2″ lengths. This is easiest with a rotary cutter and a quilters ruler.Step 5: Discard any narrow bits left over.Step 6: Stretch the strips to create round soft ties. If you have odd short bits you need to combine to create strips be sure to sew them with a half inch seam allowance and a zigzag stitch securely.